Posted on

EZ as Pi


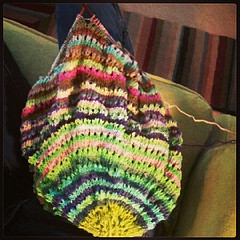
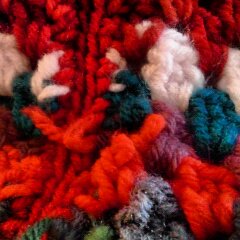
Progress above is on 3/28.
Progress below is on 3/29. Up to 576 sts, 96 rows to go before another increase…whew!

I love that there is ZERO brainwork on this project. I am hoping once I go through my 3 skeins of Noro sock yarn it will measure close to 72″ across blocked.
I am using 3 colors and alternating them every 3 rounds. Part of what makes this go so quickly is my impatience to see what the colors are going to do next. It will be a perfect spring & fall lightweight blanket for ME!!

Flickr: Your Photostream.

Posted on

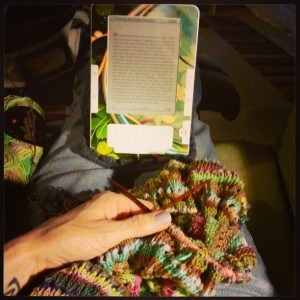
Reading while Knitting? Yes, Please!

8601420925_f4e89bfccf_o

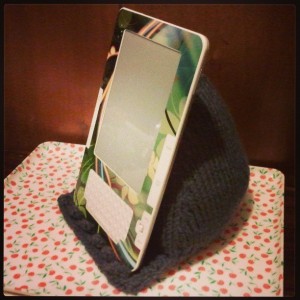
Seriously? Why didn’t I make one of these before my Kindle even made it to my house??
I did a swap with a friend; she had no use for her Kindle, I could custom knit any items she wanted of equal value. It worked out perfectly.
It’s been awesome having it to read while knitting but even with the silicone sleeve or my hard case that is fabric backed it still slips around or doesn’t sit at the right angle for my reading needs.
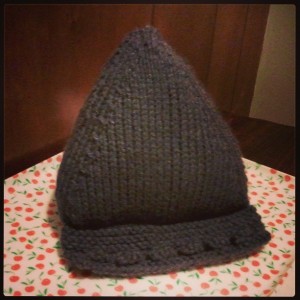
Hence, the making of the Kindle stand today.
I have increased on the Noro Taiyo sock yarn Pi Shawl (blanket) to 576 stitches so I need something to occupy me during the looooong rounds of knit, knit, knit.

8602514760_6957b75c78_o

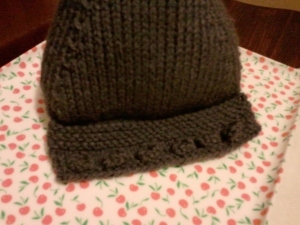
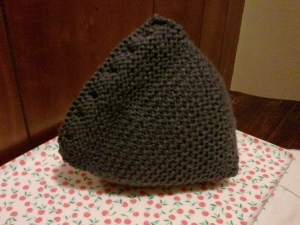
I heavily modified a free pattern I found & still decided there are a couple of things I will do differently so I may end up writing a whole new pattern with sizing for Kindles, 7″ tablets, 10″ tablets. That should cover just about all devices out there…smaller size for my phone may be next.

kindle stand

SAMSUNG

SAMSUNG

This was a pretty fast knit too. Total I would say 3 hours including time for making modifications.
Great idea for gifts!!

Posted on

Introducing the Chevelle SS…no, not my dream car…

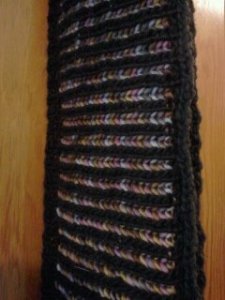
I love how squishy and cuddly brioche knitting is. The technique is rhythmic (although it does take half a dozen rows to find the rhythm sometimes) and interesting but not too fiddly.

The pattern is available for purchase in the left sidebar.
It includes detailed instructions including step by step photos for both a cowl and an infinity scarf.

1363549128658

1363549023854

I am teaching a brioche class at Twist Yarn Shop here in Wichita.
Lovely shop, lovely ladies (and men, I just haven’t had any men in my classes yet) and extra lovely yarn!

Posted on

My Adventures in Designing a Granny Square Coat

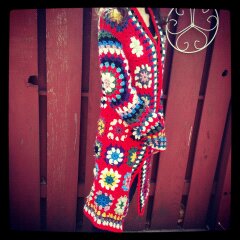
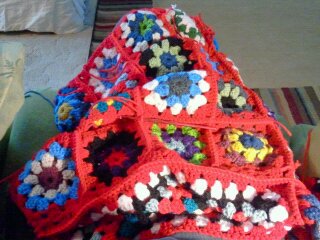
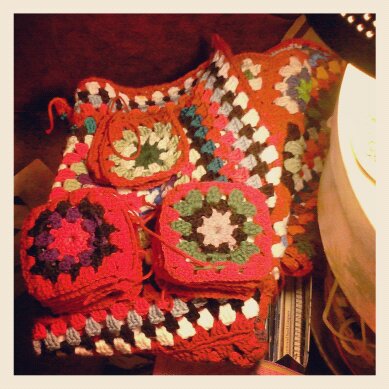
This is my granny square coat.

Image

I found a photo array of a granny square coat through a friend on Facebook and since the original was written without directions and in another language I decided I would just tackle it all on my own, adjusting as I go.
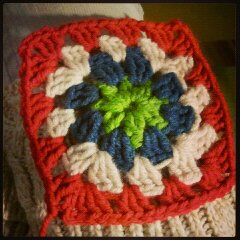
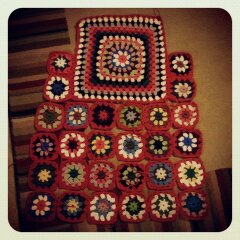
I started with 44 squares.

ImageImage

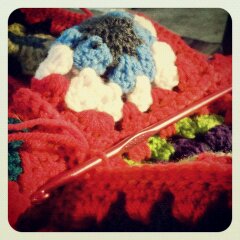
Once I had the majority of my granny squares done I felt the need for a break from squares so I worked on the sleeves and the large square for the back.
The sleeves are a 12 round granny square with shaping at the top for the shoulders and granny stripes down to the wrist.
The back is a 14 round square.

ImageImage


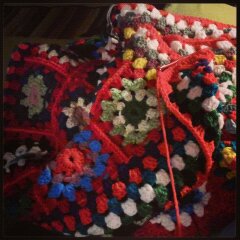
Once I had the sleeves done and the back square completed I could lay out the small squares with the large square for the back and sides.


Image


Then it was time for the sewing (truly it was slip stitching) to commence.

Image

ImageImage


Once the sewing together of squares was complete and I had the sleeves all set & sewn in it was time to work on the edging.
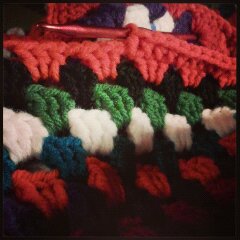
I chose to do granny stripes around the bottom edge first, then I worked granny stripes from the front left bottom corner up & around the collar back down to the right bottom front corner. After 6 granny stripes were worked in multiple colors I used the red to do one full round of edging; start at the front bottom left corner, around the bottom, up the right front, around the collar and back down the left front to join it to the start.
Then I did one final round of half double crochet in each stitch all the way around the edging just to give it a finished edge.

Image


Image

Unfortunately as you can see in the photo below when you are doing a lot of color changes in granny squares (and sewing in ends as you go) there can be a few errant ends that un-crochet.
Since finishing the coat I have spent more than a fair amount of time sewing ends & double checking joins.

Image

I plan on taking more photos of the finished coat but since washing & drying I have found a few things I want to improve so I will get those taken care of and then I will re-shoot.


Posted on

Introducing my Sicky Sweater

Sicky sweater now has separate body & sleeves.
I started this little lady a few days ago when the flu was at it’s worst.
It’s going to be a very modified version of the Mellow Sweater by Pickles. Heavier yarn, longer sleeves, I am adding a pouch kangaroo pocket. I want a comfy, loose sweater with a bit of fun styling to make it more than a lazy day around the house sweater.
More pictures to come as it progresses!

Posted on 2 Comments

Eczema Cream~ Perfect for Crafters Too!

We are dealing with some serious dry skin as well as eczema that the youngest fights. I don’t love the petroleum based creams for his skin. After picking up a new coconut oil I thought it was time to make a cream that I got to control the ingredients.
So far, after just a couple of days, we are pleased! Seeing results in his dry, cracked, itchy, burning knuckles so quickly is just what I was looking for.

ECZEMA CREAM


  • 1/3 C oats ground to a fine powder
  • 3/4 C coconut oil
  • 1 T olive oil
  • 1 tsp sweet almond oil
  • 2 T beeswax
  • 1/2 tsp tocopheryl
  • {optional} rosemary oil
  • dozen or so pumps of intensive healing lotion for the added creaminess

Heat coconut oil for 1 minute in microwave.

Add other oils, beeswax, heat for 30 seconds & give a stir to blend.

Pour into air tight container, I used an old glass marshmallow creme jar & a baby food jar.

As it cools and solidifies I shook the jars to disperse the ground oats evenly.


I think the next batch I will add shea butter or possibly cocoa butter, more for my hands than his eczema. I love the butters in my lotions.
This goes on a tad greasy, slick but it absorbs well.
I have also found that it does wonders on my split ends & as we all know natural oils are more healthy for the hair than silicones or artificial hair shine products.

Give it a try & adjust ingredients as you see fit 🙂

Posted on

Let’s See…


I have been working on 3 projects; one long term (more than 3 years hibernating), one gift for VDay, one pair of socks for me!
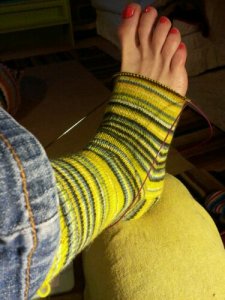
Trekking 72's

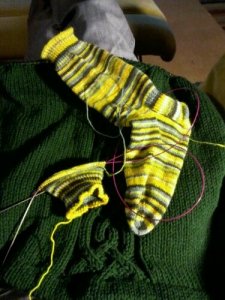
The socks are very basic 72 sts on size 0 needles, magic loop style, gauge of 11 sts per inch. Nice & tight to wear like iron.I have had this Trekking XXL yarn for many years and finally I broke down and decided that the perfect pattern is no pattern at all. This pic was last night when I was measuring when to start my toe decreases. Next pic is the finished first sock and the start of the second.
wpid-C360_2013-01-29-22-26-57.jpg

Next project please…

wpid-C360_2013-01-26-21-31-59.jpg

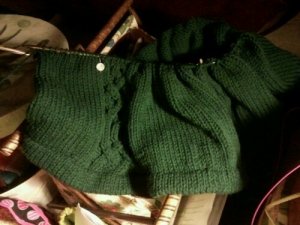
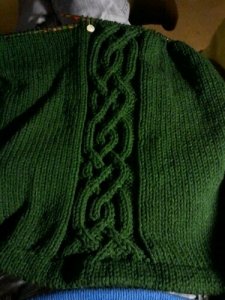
This is the sweater I am making Josh for Valentine’s Day.
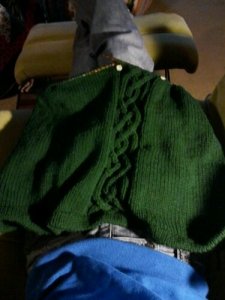
Basic info: in the round, bottom up, celtic knot cables worked up the front center and up both sleeves to saddle shoulder.
Heavy worsted weight yarn on size 10 needles.
Picture above was taken yesterday, picture below was taken just a few minutes ago.
I must say I am getting a lot of knitting done now that I have a Kindle. I can read & read & knit & knit.
wpid-C360_2013-01-29-22-24-50.jpg

Up close & personal with some knots.

wpid-C360_2013-01-29-22-26-32.jpg

Third up is the Debbie Bliss Cabled Jacket that I started about 3 years ago. Could have been longer than that, Ravelry will know 😉
I finished up the back and got one of the fronts started. This is a pretty straight forward charted pattern but there is no multi-tasking with this one.
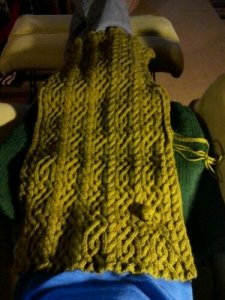
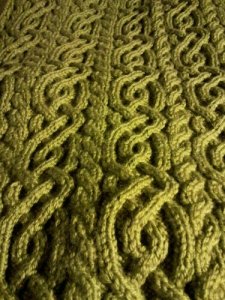
wpid-C360_2013-01-29-22-27-45.jpg

wpid-C360_2013-01-29-22-29-02.jpg

wpid-C360_2013-01-29-22-30-06.jpg

I love this yarn, RYC Cashsoft DK. I have another sweater, Julia, made from this yarn and it is one of the few I chose to take with me from California when we “temporarily” moved in 2010. I am so glad I did. It’s a gorgeous sweater as well and wears beautifully.
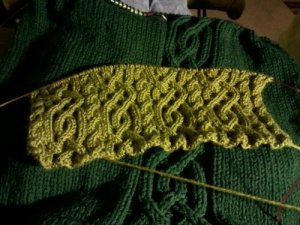
Back to what I was saying…
I am enjoying my knits. A couple fast & fulfilling, one difficult but a smooth knit, one a design of my own for the man I love.
Right now I am feeling blessed to have time to work on these projects. For me, my choice. Not for hire, not for others. I love knitting gifts but I have to say sometimes I miss finishing and wearing my own knits.

Oh! That reminds me…I need to get final pictures of my other recent finished sweater, the Delancey Cardigan. I have worn it multiple times & have had to wash it. White & yellow, no surprise that it will be needing washing after every few times of being worn.

Here’s a pic I do have…
Delancey Cardigan buttons