|

|

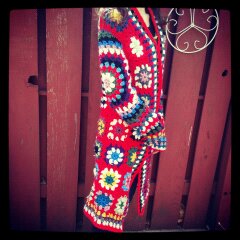
This is my granny square coat.
I found a photo array of a granny square coat through a friend on Facebook and since the original was written without directions and in another language I decided I would just tackle it all on my own, adjusting as I go.
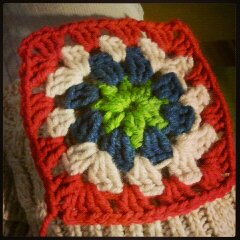
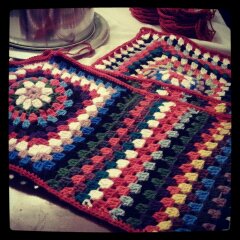
I started with 44 squares.
Once I had the majority of my granny squares done I felt the need for a break from squares so I worked on the sleeves and the large square for the back.
The sleeves are a 12 round granny square with shaping at the top for the shoulders and granny stripes down to the wrist.
The back is a 14 round square.
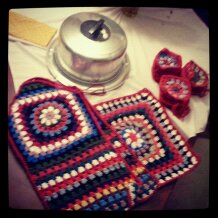
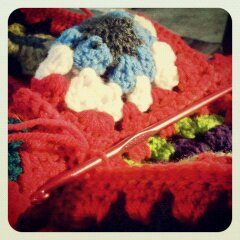
Once I had the sleeves done and the back square completed I could lay out the small squares with the large square for the back and sides.

Then it was time for the sewing (truly it was slip stitching) to commence.


Once the sewing together of squares was complete and I had the sleeves all set & sewn in it was time to work on the edging.
I chose to do granny stripes around the bottom edge first, then I worked granny stripes from the front left bottom corner up & around the collar back down to the right bottom front corner. After 6 granny stripes were worked in multiple colors I used the red to do one full round of edging; start at the front bottom left corner, around the bottom, up the right front, around the collar and back down the left front to join it to the start.
Then I did one final round of half double crochet in each stitch all the way around the edging just to give it a finished edge.

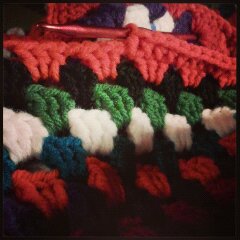
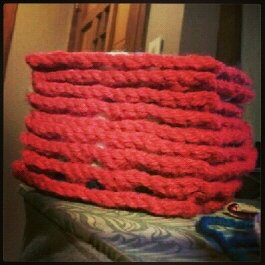
Unfortunately as you can see in the photo below when you are doing a lot of color changes in granny squares (and sewing in ends as you go) there can be a few errant ends that un-crochet.
Since finishing the coat I have spent more than a fair amount of time sewing ends & double checking joins.

I plan on taking more photos of the finished coat but since washing & drying I have found a few things I want to improve so I will get those taken care of and then I will re-shoot.


Shoes at the DMV


… Rise Against, Bad Religion at the Saltair
F*ing Awesome